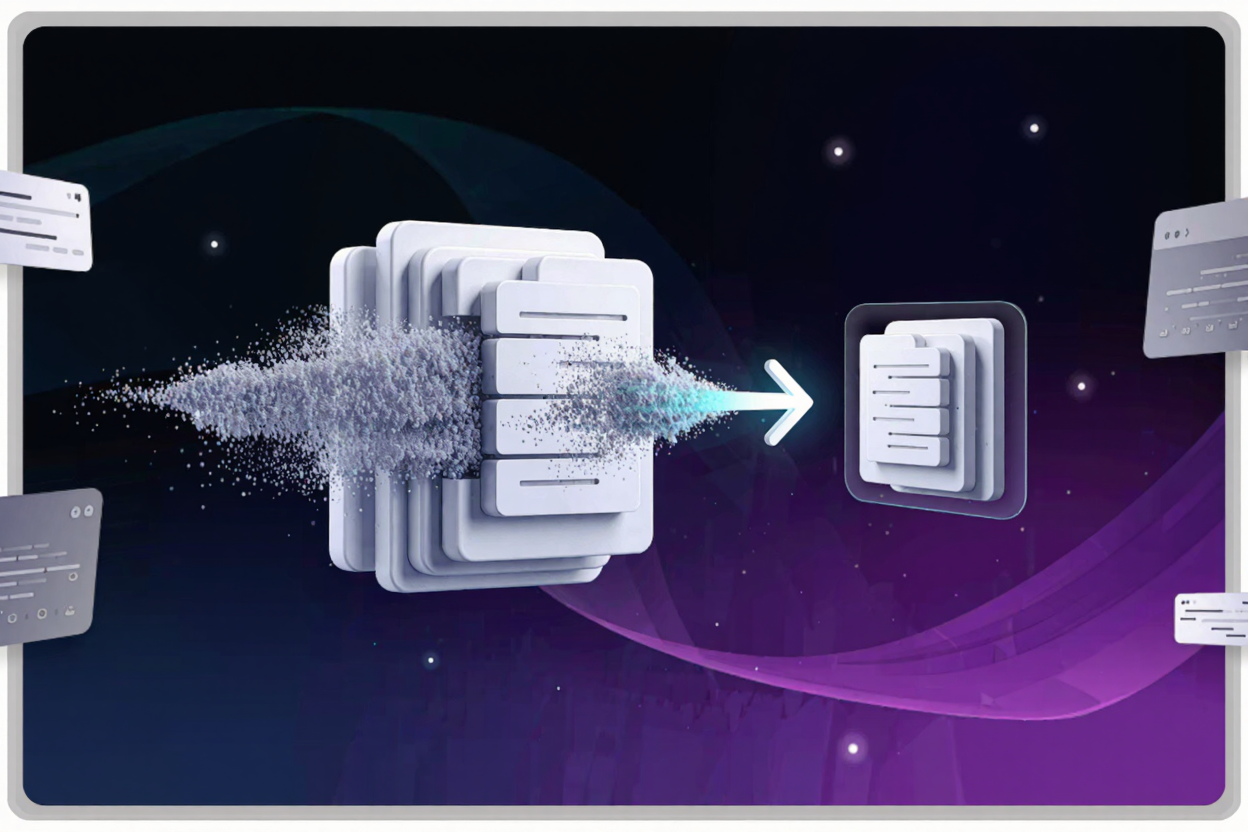
How to Compress Images Without Losing Quality - ConvertMinify
Learn how to compress images without losing quality. Discover techniques, tools like ConvertMinify, and best practices to optimize your website for speed and SEO.
Optimizing images is a critical step for any website owner or digital marketer aiming for peak performance. Large image files can significantly slow down your website, leading to higher bounce rates, poor user experience, and lower search engine rankings. The good news is that you can dramatically reduce file sizes without visibly compromising image quality.
This guide will walk you through effective strategies and tools to achieve optimal image compression, ensuring your website remains fast, engaging, and SEO-friendly. Understanding these techniques is key to balancing visual appeal with technical efficiency. By implementing these methods, you can enhance your site's performance and user satisfaction.
Why Image Compression Matters for Your Website
Website speed is a paramount factor in today's digital landscape. Google and other search engines prioritize fast-loading sites, and users expect instant access to information. Large, unoptimized images are often the biggest culprits behind slow page load times. Compressing images directly translates to a faster website, which improves user experience and can lead to better conversion rates.
Beyond speed, optimized images also contribute to better SEO. Search engines consider page speed a ranking factor, and correctly compressed images help your site meet those criteria. Faster sites are also more likely to be crawled and indexed efficiently, further boosting your visibility online. Efficient image handling is a cornerstone of a high-performing digital presence.
Understanding Image Compression: Lossy vs. Lossless
Before diving into techniques, it's essential to grasp the two main types of image compression: lossy and lossless. Each has its own implications for file size and quality.
Lossy Compression
Lossy compression permanently removes some image data to achieve significant file size reductions. This method is often used for photographs and complex images where minor data loss is less noticeable to the human eye. JPEG is a common lossy format. While it offers excellent compression ratios, repeated saving of a lossy image can degrade its quality over time. The key is to find the sweet spot where file size is minimal, but visual quality remains high.
Lossless Compression
Lossless compression reduces file size without discarding any data. The original image can be perfectly reconstructed from the compressed version. This method is ideal for images where retaining every pixel is crucial, such as line art, logos, or images with sharp edges and text. PNG is a popular lossless format. While lossless compression yields smaller file sizes than uncompressed images, the reduction is typically less dramatic than with lossy methods.
The Myth of "No Quality Loss"
The phrase "compress images without losing quality" often refers to perceptible quality loss, rather than absolute data loss. With lossy compression, some data is always removed. However, with the right tools and settings, this removal is imperceptible to the human eye. For lossless compression, there is indeed no actual quality loss. Our goal is to achieve the smallest possible file size while maintaining a visually perfect image for your audience.
Effective Strategies for Near-Lossless Image Compression
Achieving optimal image compression involves a combination of smart choices and the right tools. Here are the key strategies:
1. Choose the Right Image Format
The file format you select significantly impacts file size and quality.
- JPEG (Joint Photographic Experts Group): Best for photographs and complex images with many colors and gradients. It uses lossy compression and offers a good balance between file size and quality.
- PNG (Portable Network Graphics): Ideal for images requiring transparency (like logos) and graphics with sharp lines or text. It uses lossless compression. For optimal PNG compression, consider using a dedicated PNG Compressor.
- WebP (Web Picture Format): A modern format developed by Google that offers superior lossy and lossless compression compared to JPEG and PNG, often resulting in 25-34% smaller file sizes. Most modern browsers support WebP.
- AVIF (AV1 Image File Format): An even newer format offering even better compression than WebP, but with less browser support currently.
2. Resize Images to Their Display Dimensions
One of the simplest yet most effective ways to reduce file size is to serve images at the exact dimensions they will be displayed on your website. Uploading a 4000x3000 pixel image and then displaying it at 800x600 pixels using CSS or HTML is inefficient. The browser still loads the larger file, wasting bandwidth and slowing down your site. Always resize your images before uploading them. You can easily convert images online to the correct dimensions.
3. Utilize Online Image Compression Tools
Dedicated online tools are invaluable for compressing images efficiently. These platforms often employ advanced algorithms to optimize images with minimal quality impact. A free image converter like ConvertMinify allows you to upload various image formats and apply smart compression, often converting them to more efficient formats like WebP simultaneously. These tools simplify the process, making it accessible even for those without graphic design expertise.
4. Leverage Browser-Native Formats (WebP, AVIF)
Modern browsers increasingly support next-generation image formats like WebP and AVIF. Implementing these formats can lead to significant file size reductions without compromising visual quality. Many content management systems and plugins now offer automatic conversion to WebP. If you're looking for a comprehensive solution, a free image converter can often handle these conversions for you seamlessly, ensuring your website benefits from the latest optimization technologies.
5. Optimize for Retina and High-DPI Displays
For users with high-resolution (Retina) displays, images might appear blurry if not properly optimized. While you don't need to double the file size, serving images at 1.5x or 2x the standard resolution for these displays, alongside proper srcset attributes, ensures sharpness without excessively large files for everyone. This technique provides a crisp visual experience for all users, regardless of their screen technology.
Step-by-Step Guide to Compressing Your Images
- Assess Your Needs: Determine if your image is a photograph (lossy is fine) or a graphic with sharp lines (lossless is better).
- Choose the Right Format: Select JPEG, PNG, or ideally, WebP based on the image content and transparency needs.
- Resize Accurately: Crop and resize your image to the exact dimensions it will appear on your webpage.
- Compress: Use an online tool like ConvertMinify or a desktop editor to apply compression. Adjust quality settings for lossy formats until you find the perfect balance.
- Verify: Always check the compressed image on your website to ensure quality is maintained and load times are improved.
The Enduring Benefits of Optimized Images
Implementing these image compression strategies yields lasting benefits. Your website will load faster, leading to improved user engagement and lower bounce rates. Search engines will reward your efforts with better rankings, increasing your organic visibility. Furthermore, you'll save on bandwidth costs and storage space. Optimizing images is a fundamental practice for anyone serious about web performance and online success.
FAQ
Q1: Will compressing my images really improve my website's SEO?
A1: Yes, absolutely. Page speed is a significant ranking factor for search engines like Google. Faster loading times, largely achieved through image optimization, improve user experience, reduce bounce rates, and signal to search engines that your site provides a good experience, contributing positively to your SEO.
Q2: What's the main difference between lossy and lossless compression?
A2: Lossy compression permanently removes some image data to achieve smaller file sizes, which is generally imperceptible for photos but can degrade quality over time with repeated saves. Lossless compression reduces file size without discarding any data, allowing for perfect reconstruction of the original image, ideal for graphics and logos where precision is key.
Q3: Should I always convert my images to WebP?
A3: While WebP offers superior compression and is highly recommended for most web images, it's essential to ensure browser compatibility. Most modern browsers support WebP, but for older browsers, it's good practice to provide a fallback (e.g., a JPEG or PNG version) using HTML's <picture> element. Tools often handle this automatically.
Ready to Optimize Your Images?
Don't let large image files hold your website back. By applying the strategies outlined in this guide, you can significantly improve your site's performance and user experience. Start optimizing your images today with ConvertMinify and experience the benefits of a faster, more efficient website.